How To Safely Cross Rivers While Hiking With 9 Simple Safety Checks
Author:Mike Fakunle
|
Released:October 11, 2025
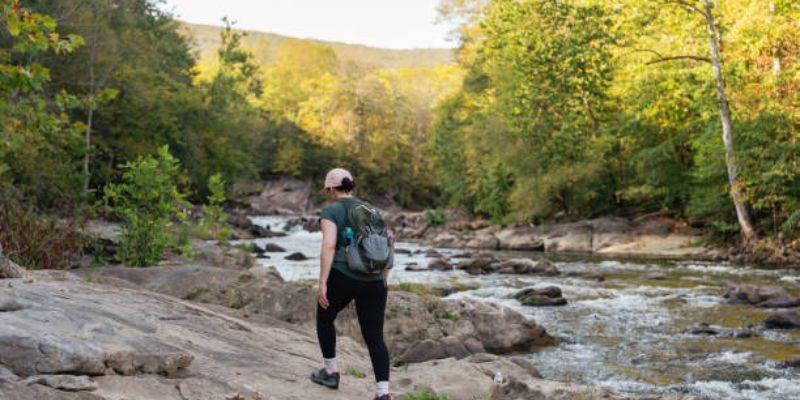
Safely cross rivers while hiking by treating every crossing like a serious decision, not a quick step. Rivers can look calm but still push hard, hide holes, and turn one slip into a dangerous drift.
Most problems happen when hikers rush, guess the depth, or pick a bad spot. River crossing safety comes down to three things: choosing the right place, using steady technique, and knowing when to stop and turn back.
Why River Crossings Are One Of The Most Dangerous Parts Of Hiking
Moving water does not need to be deep to be strong. A current can push the legs sideways, and wet rocks can act like ice. That is why river safety hiking is about balance and smart choices, not speed.
The riverbed is often uneven. One step can land in a sudden dip, and that shift can pull a hiker off balance. Hiking river crossing techniques work best when steps are slow and planned.
Cold water is another problem. It can numb feet and tighten muscles fast. When the body gets stiff, it is harder to keep stable, and river crossing safety drops quickly.
When You Should Not Attempt To Cross A River While Hiking
Signs The River Is Too Dangerous
If the water is above the knees and moving fast, safely cross rivers while hiking becomes much harder. If the current makes it hard to stand still, crossing is a bad idea. If the water is muddy and you cannot see your footing, risk goes up.
If the river has loud, roaring sound, rolling waves, or strong swirls, the force is usually high. River safety hiking means walking away from that.
Environmental Red Flags To Watch For
Rain upstream can raise water level without warning. Snowmelt can do the same, especially later in the day when temperatures rise. Narrow channels speed up the flow and make the push stronger.
Trail areas often post updates about hazards, closures, and changing conditions in the same place as other park notices, and those updates can be found under trip planning pages before heading out. That helps with river crossing safety choices.
Personal Factors That Increase Risk
A tired hiker is less steady. Hunger, dehydration, and cold also reduce focus. A heavy pack pulls the body forward and can twist the hips when the current hits.
If the day is already stressful or energy is low, how to cross a river hiking may not be the right move at all. Turning back can be the safest option.
How To Assess A River Before Crossing Safely
Choosing The Safest Crossing Location
Look for a wide section where water spreads out. Wide usually means shallower and slower. Avoid narrow points where water funnels and speeds up. Avoid crossing at a bend, because the outside of a bend often runs faster and deeper.
If there is a natural shallow “braid” with multiple small channels, that can be safer than one deep push. Hiking river crossing techniques work best in slow, even water.
Checking Water Depth And Current
Use trekking poles or a strong stick to probe the riverbed. Test each step area before moving into it. Watch a small stick float by to judge speed. If it races away, the current is strong.
Look for smooth water with fewer waves. Big surface ripples often mean rocks underneath, and those rocks can be slippery. River crossing safety starts with knowing what is underfoot.
Planning An Exit Point Before Entering
Before stepping in, find the exact exit spot. The far bank should not be steep, loose, or covered in slick mud. A good exit is part of how to cross a river hiking safely.
If the far side looks unsafe, do not enter. Safely cross rivers while hiking only when both sides support a stable start and finish.
Essential Preparation Before Crossing A River While Hiking
Adjusting Your Backpack For Safety
Loosen shoulder straps a little and unbuckle the hip belt and chest strap. If you fall, you need to remove the pack fast. A trapped pack can press the body down and make it harder to stand up.
This small step supports river crossing safety because it reduces the chance of being held underwater by gear weight. Safely cross rivers while hiking with a pack that can come off quickly.
Footwear Choices For River Crossings
Keep footwear on in most cases. Boots or trail shoes protect feet from sharp rocks and help with grip. Barefoot crossing is risky because feet can get cut, and pain can cause loss of balance.
If shoes are soaked, that is still safer than slipping. River safety hiking is about traction and control, not dry socks.
Protecting Gear And Electronics
Put phones, maps, and dry layers in waterproof bags. A wet jacket or wet spare clothing can lead to chilling after the crossing. In cold conditions, that can turn into a serious problem.
Being prepared keeps hiking river crossing techniques safer, because you can warm up right after. It also supports river crossing safety if you need to stop and wait.
Safe Techniques To Cross Rivers While Hiking Alone
Proper Body Position And Movement
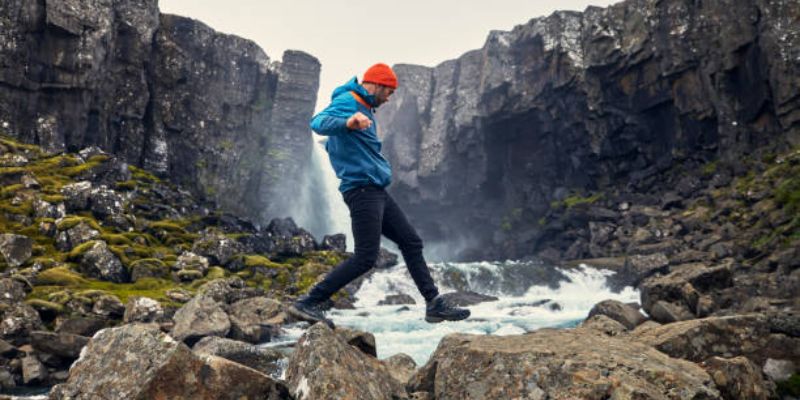
Angle the body slightly upstream. Move sideways in small steps instead of walking straight across. Keep knees bent and stay low, so the current has less leverage on the body.
Place each foot carefully and pause to test stability. This is one of the core hiking river crossing techniques used by experienced hikers.
Using Trekking Poles Or A Stick
Use two trekking poles if possible. Plant both upstream, then step. Keep three points of contact at most times. Move one thing at a time: pole, pole, foot, foot.
This method improves river crossing safety because it creates a stable triangle. Safely cross rivers while hiking by letting the poles take part of the load.
What To Do If You Lose Balance
If balance starts to go, do not fight with fast, big steps. Lower the body a little and widen stance. If you must go down, aim to sit into the water instead of crashing forward.
A calm response is part of river safety hiking. Panic is what turns small slips into bigger accidents.
How Groups Can Cross Rivers While Hiking More Safely
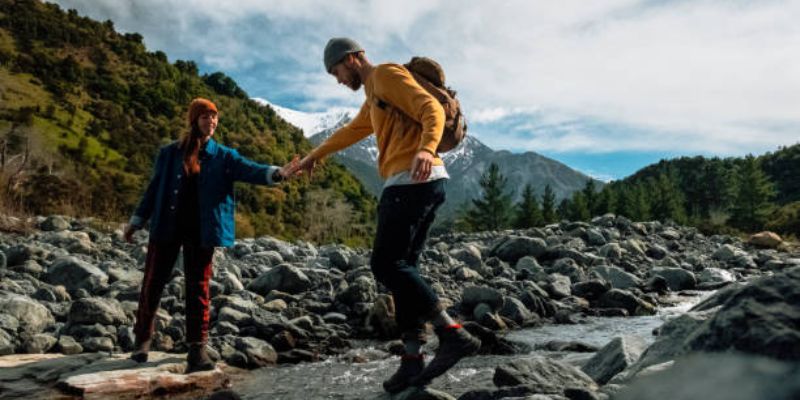
Group crossings can help when the water is shallow to moderate but pushy. A group can add stability, but only if everyone moves as one. If the group is untrained or scared, it can be safer to cross one at a time, or not at all.
Some outdoor safety lessons about staying steady, choosing safe terrain, and using simple support methods are taught in common outdoor skills classes, and they match the same river crossing safety ideas used in the field.
When Group Crossing Makes Sense
Group crossing can work when the river is not too deep and the riverbed is not full of rolling rocks. The group should be calm, strong enough, and able to communicate well.
If one person is clearly unstable, the group should not force the crossing. River safety hiking is not a team contest.
Common Group Crossing Methods
A common method is a side-by-side line where everyone faces upstream. The strongest or most stable person stands slightly upstream, helping break the current. Everyone takes small steps together and pauses often.
Another method is a tight cluster with shoulders near each other, again facing upstream. Hiking river crossing techniques for groups depend on slow, shared movement.
Mistakes Groups Commonly Make
Groups often move too fast. They also step at different times, which breaks the shared balance. Another mistake is talking over each other, so no one hears warnings about slippery spots.
Safely cross rivers while hiking in a group only when there is a clear plan and clear signals.
Extra Safety Tips For Cold, Fast, Or Mountain Rivers
Cold Water Risks And How To Manage Them
Cold water can shock the body and make breathing quick and shallow. It can also numb feet fast. That reduces balance and lowers river crossing safety.
Cross at the shortest safe place. Step out, dry off, and warm up quickly. River safety hiking means managing cold as seriously as the current.
Snowmelt And Seasonal River Changes
Mountain rivers often rise later in the day because snow melts as air warms. A crossing that was easy at 9 a.m. can become risky at 3 p.m.
Plan earlier crossings when possible. How to cross a river hiking safely often depends on timing, not just skill.
What To Do If Someone Falls Into The River
Self-Rescue Techniques
If swept away, roll onto the back with feet up and pointed downstream. This helps protect the head and legs from rocks. Use arms to steer toward a safe shore zone.
Stand only when water slows and feet can find stable ground. This approach supports river crossing safety during an emergency.
Helping Others Without Becoming A Victim
Do not jump in after someone in fast water. Reach with a pole, branch, or strap from a stable position on shore. If you cannot reach safely, move along the bank to a calmer area.
Public safety messaging about hazards on trails and waterways is often shared under broad public land safety guidance, and the main idea is simple: avoid turning one rescue into two victims. River safety hiking always protects the rescuer too.
How To Decide Between Crossing, Waiting, Or Turning Back
Waiting can help if water is high due to short rain or temporary snowmelt. Levels may drop overnight or in cooler hours. If the river is rising, waiting may not help, and leaving may be safer.
Turning back is a normal part of smart hiking. Safely cross rivers while hiking only when conditions are clearly within your skill level, not when you feel forced by the plan.
Safely Cross Rivers While Hiking With Smart Judgment Every Time
Safely cross rivers while hiking by slowing down, choosing a wide and shallow spot, preparing gear, and using steady hiking river crossing techniques. Strong river crossing safety comes from good decisions, not bold moves.
If anything feels unsure, river safety hiking says to stop, wait, or turn back. Learning how to cross a river hiking safely is valuable, but the safest choice is sometimes not crossing at all.
Sources
Related Posts
Outdoor Gear
The Best Headlamps for Brightness, Comfort, and Battery Life
Guides and Tips
Best Hiking Shoes for Comfort, Grip, and All-Day Support

Outdoor Gear
Best Waterproof Jackets for Heavy Rain, Wind, and Long Days Outside
Outdoor Gear
Gaiters For Hiking: When You Actually Need Them and How to Choose
Outdoor Gear
What to Pack for a Day Hike: Essential Gear You Shouldn't Forget
Destinations